
1. Stop the source and make the area safe
The first job is to stop more water from coming in: shut off the supply valve, isolate the leaking appliance or fixture, or tarp the opening. If water has reached outlets, light fixtures or the electrical panel, power to the affected area is shut off before anyone works there.
2. Inspect and map the moisture
Water travels further than it looks. It wicks up drywall, runs along framing and spreads under flooring and cabinets. We take moisture readings across the floor, walls and materials around the visible damage to find where the water actually went. That map decides what gets dried and what gets removed. We photograph and record the readings from the first visit.
3. Extract standing water
Every gallon removed as liquid is a gallon that does not have to be evaporated. Standing water is pumped or extracted from floors and carpet before any drying equipment goes in, which shortens the drying time.
4. Remove what cannot be saved
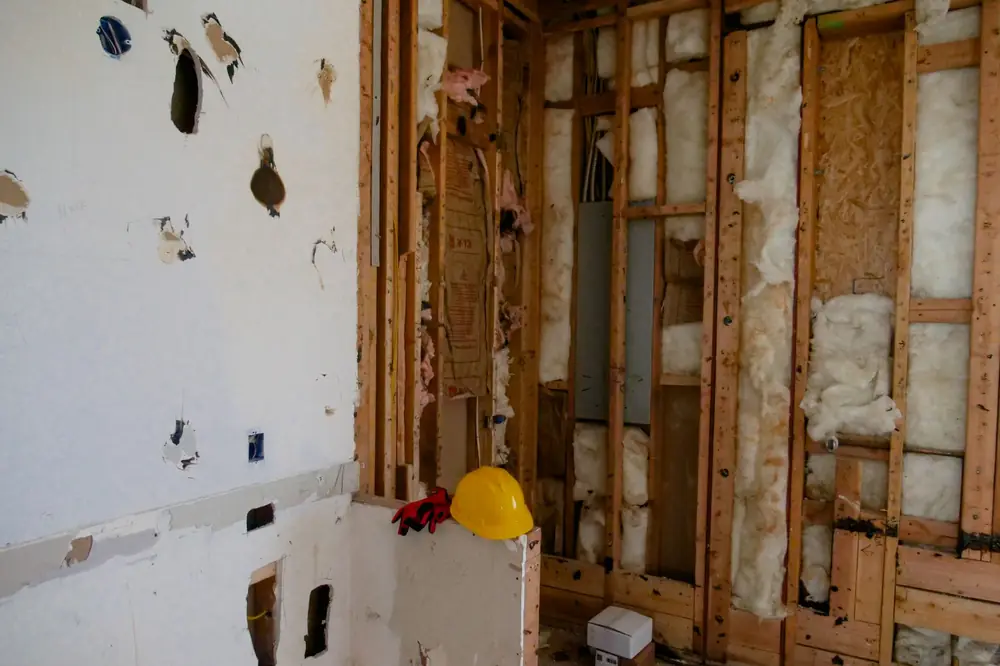
Some materials dry well; others do not. Saturated carpet pad, wet insulation, swollen particleboard and drywall that has been soaking for a long time or was hit by contaminated water are usually removed. Where only the bottom of a wall is wet, the drywall is cut a measured distance above the wet line (a “flood cut”) so the wall cavity can dry.
5. Dry the structure
Dehumidifiers pull water out of the air, and air movers keep dry air moving across wet surfaces. The equipment is placed according to the moisture map and the size of the room. We take readings on every visit and adjust until the materials reach the dry standard for that material. Equipment is removed when the readings say so, not after a fixed number of days.
6. Rebuild
Once everything is dry, the space is put back together: insulation, drywall, tape and texture, trim, cabinets, tile and paint matched to the rest of the room. Because the same team handles drying and the rebuild, there is no gap between two contractors and no one to blame for a missed spot.
What you receive
Every job is documented with written notes, photos and video from the first visit to the final walkthrough, together with the moisture readings. That record is kept on our own servers for at least five years and is available for your insurance adjuster, your property records or a future buyer.